Getting Started with Microsoft App Center
This article is part of the October Xamarin Best Practices Challenge
Developers use App Center to Build, Test, and Distribute applications. I will show you how easy it is to get started with App Center to monitor the status and usage of your apps using the Analytics and Diagnostics services.
First you’ll want to head over to the App Center website and create a new account. Next you will be asked to select a username.
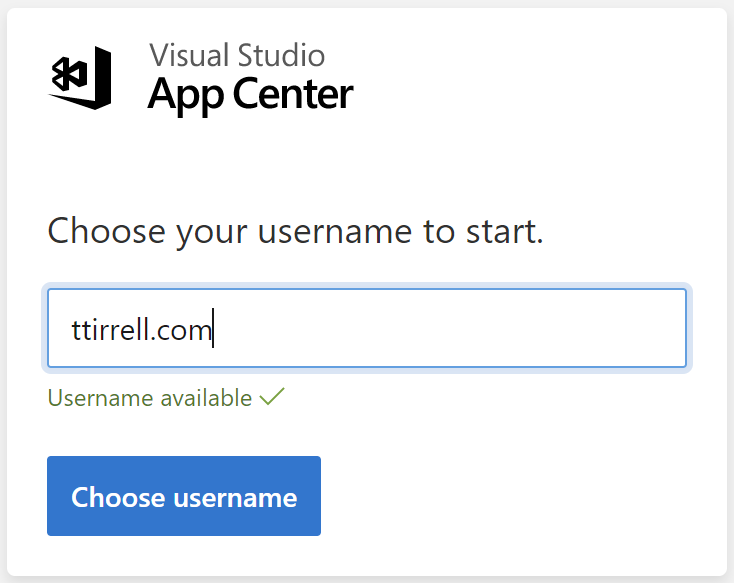
If you work for a company that uses App Center, you could be invited to join your company’s App Center Organization. If so, you’ll be able to see your own apps and your organization’s apps in App Center.
Create an App Center App
Click on ‘Add new app’
You are then presented with a dialog where you can enter the name for your app, the release type (i.e. alpha, beta, production), as well as the platform you are using to code your app.
There is also an option for the OS. A separate app needs to be created for each OS, even if your are creating a cross-platform app.
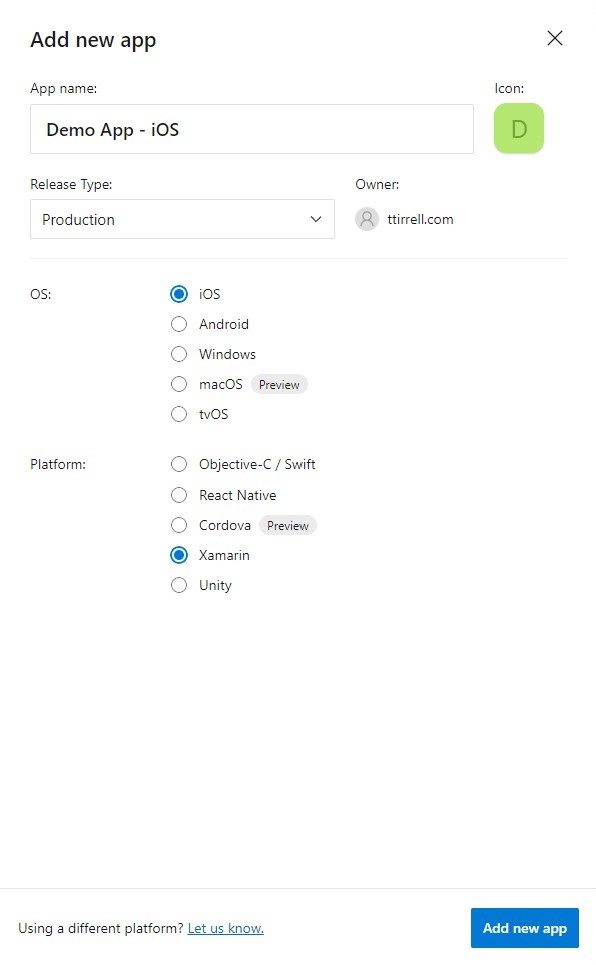
Once you have filled in all the necessary information you can click ‘Add new app’. Now repeat this process to create an app for Android and optionally for UWP / Windows. After you finish creating your apps you they will appear in your App Center dashboard.
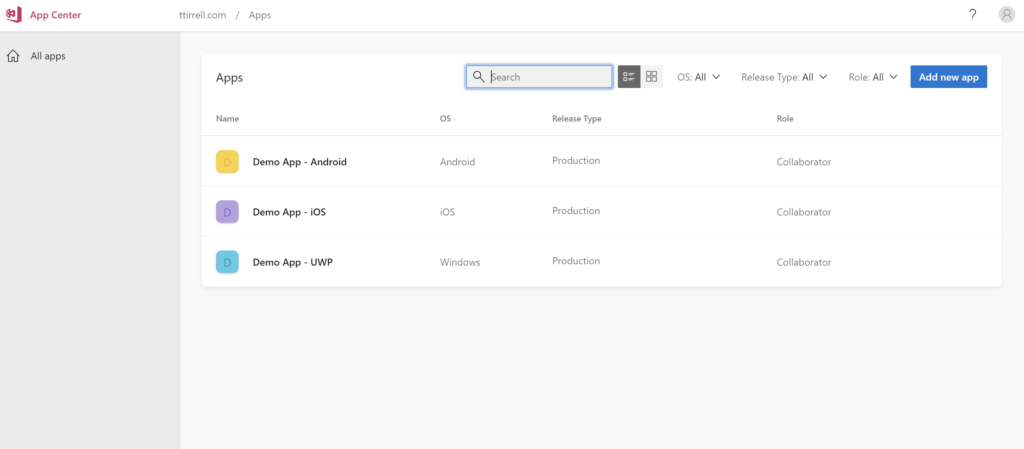
Now we are ready to add the App Center SDK to our app in Visual Studio. You can begin by clicking on one of the apps you just created and you will be presented with some ‘Getting started’ instructions.
Select XAMARIN.FORMS for cross-platform mobile apps.
Integrate App Center SDK Into Your App
The App Center SDK is a NuGet package. To add it to our project we can right click on our solution in the Solution Explorer and then click ‘Manage NuGet Packages for Solution…’
On the Browse tab of the NuGet window search for “appcenter”. You will want to install Microsoft.AppCenter as well as the Microsoft.AppCenter.Analytics and Microsoft.AppCenter.Crashes packages into to all of your projects.
There are other packages you may install, but we won’t be discussing those at this time.
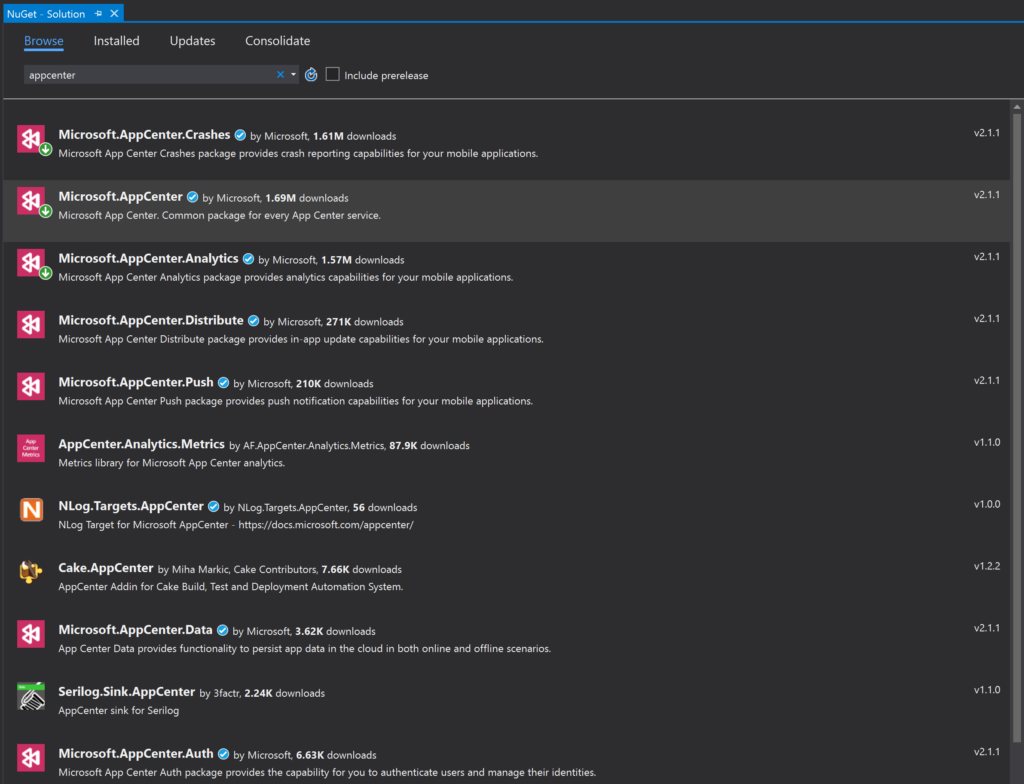
Step 2 of the ‘Getting started’ instructions for your app in App Center tells us to copy the following ‘using’ statements into our App.xaml.cs file.
using Microsoft.AppCenter;
using Microsoft.AppCenter.Analytics;
using Microsoft.AppCenter.Crashes;
Then we need to copy and paste the following into the OnStart() method within the same file.
AppCenter.Start("ios={Your iOS App secret here};" +
                  "uwp={Your UWP App secret here};" +
                  "android={Your Android App secret here}",
                  typeof(Analytics), typeof(Crashes));
You will need to navigate to the instructions for each of the apps you’ve created in App Center to find the ‘App secret’ for each one. Make sure to replace {Your App Secret} text with the actual value for your application.
Notice the first two have a semicolon at the end of the string, but the last one does not.
Check Your App Center Analytics
Now spin up your app within your Android emulator, iOS simulator or local maching for UWP.
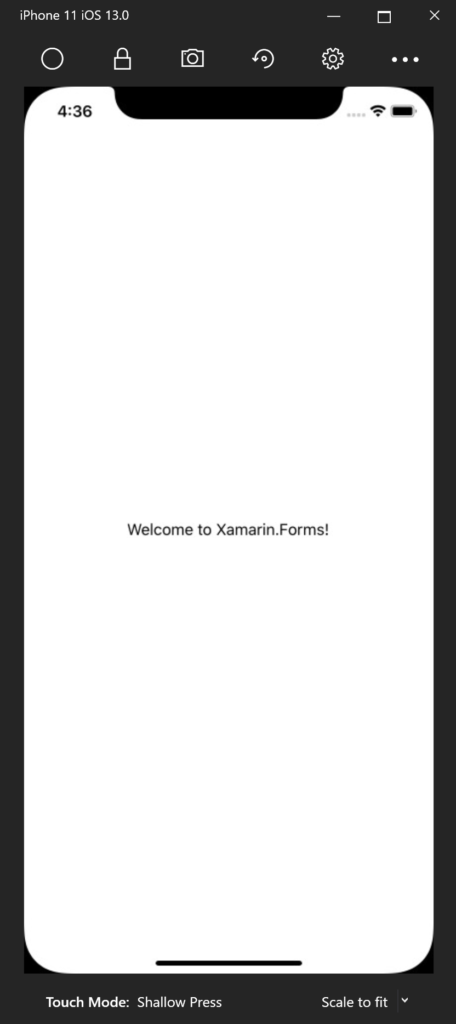
Navigate back to your app in App Center and click on the Analytics menu item. You will see that there is now 1 active user along with other useful information.
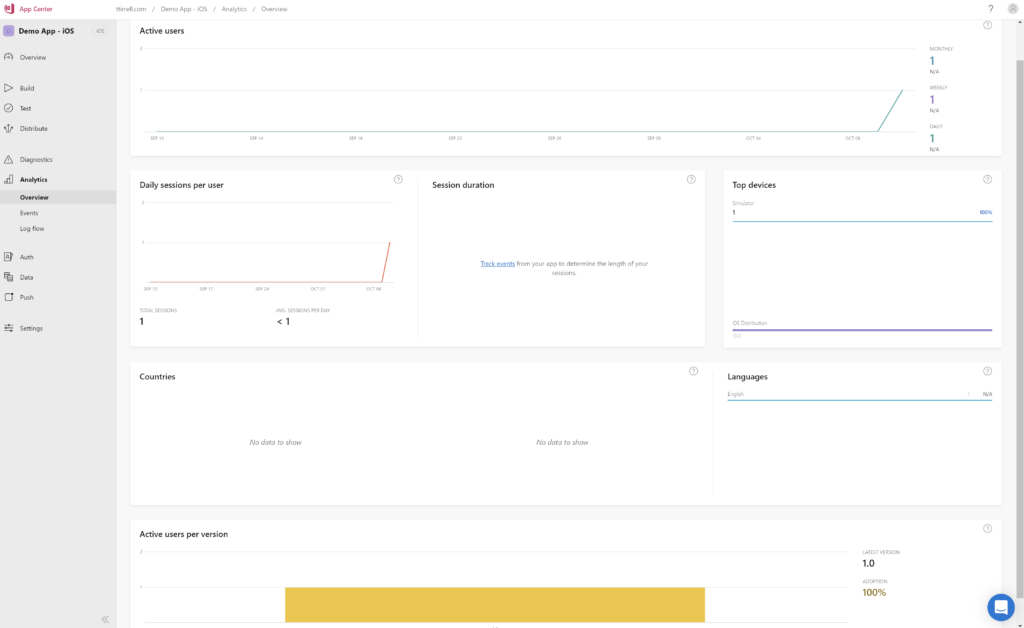
The Diagnostics menu item should not display any information yet as long as the app hasn’t crashed.
Useful Links
- Microsoft App Center
- Getting Started with Xamarin documentation
One thought on “Getting Started with Microsoft App Center”