
Installing Visual Studio for Cross-Platform Mobile App Development
Install Visual Studio Community Edition
First head over to the Visual Studio website and download Visual Studio Community Edition.

Open the installer file and follow the prompts till you see the following screen.
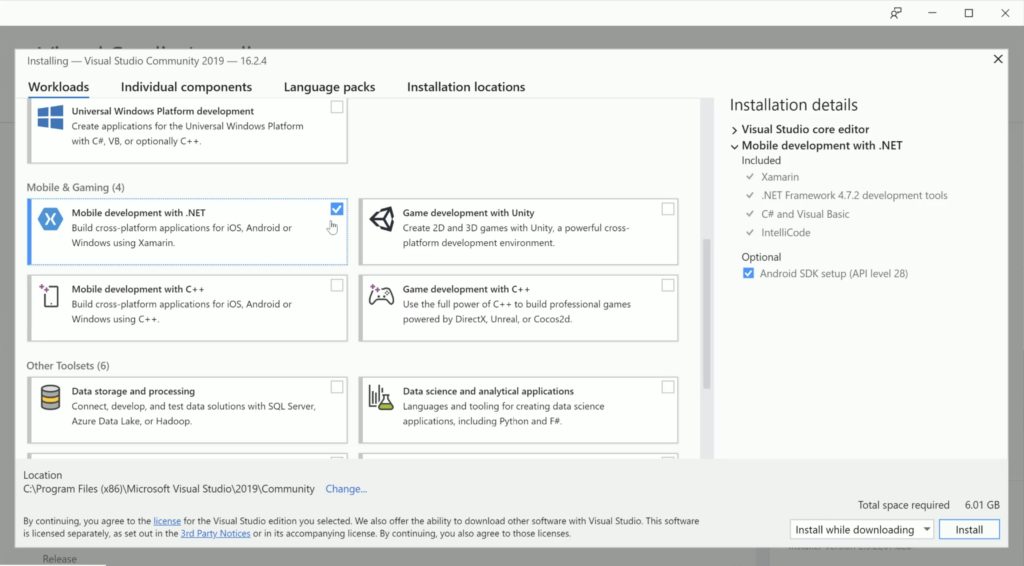
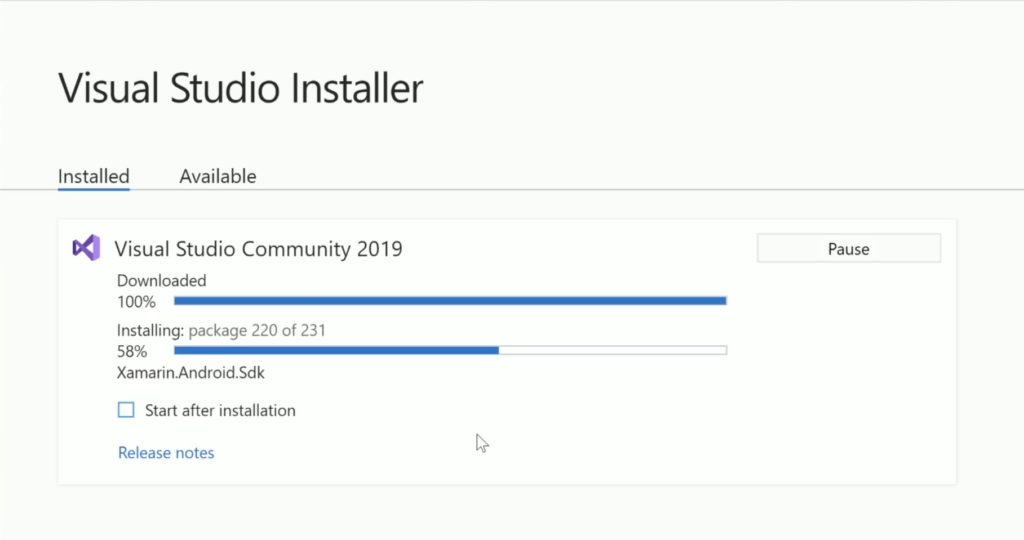
For cross-platform mobile apps select the ‘Mobile development with .NET’. That is all that we need to select to get started. Next click Install. It will take several minutes depending on your internet connection so be patient.
Create Your First Mobile App
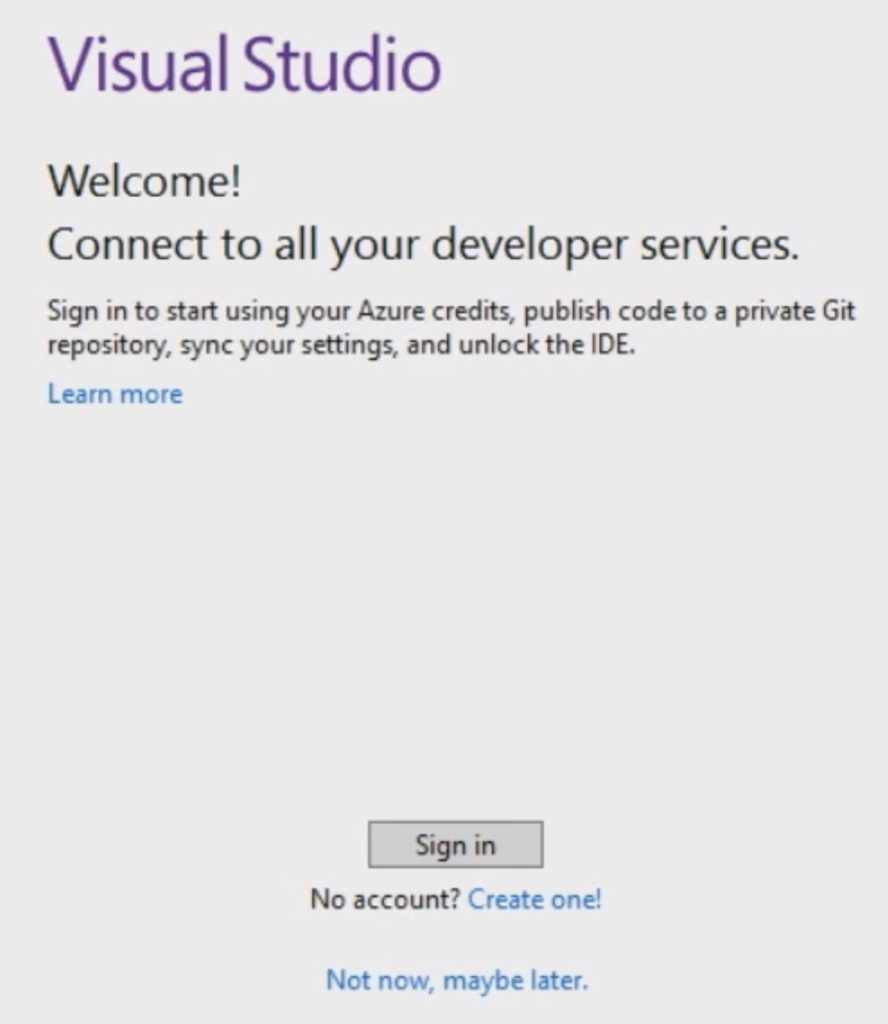
Once the install is complete you can launch Visual Studio. You will be presented with the following screen where you can sign in with your Visual Studio account, or create one.
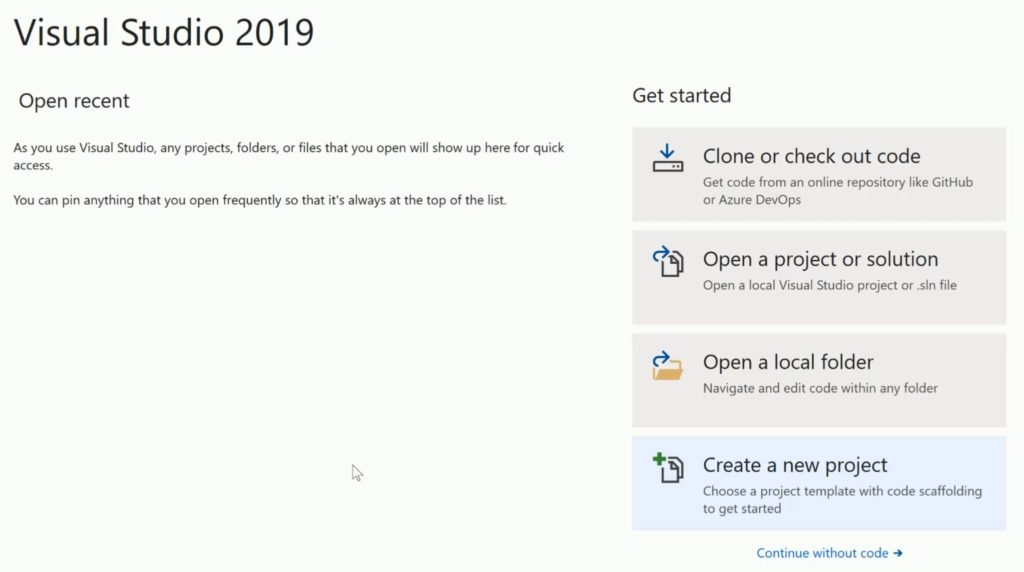
After you sign in you will be presented with the getting started page where you can clone a GitHub repository, open an existing solution, or create a new project. We want to click ‘Create a new project’.
Select ‘Mobile’ in the Project type drop down menu on the Create a new project dialog and then choose ‘Mobile App (Xamarin.Forms). Click next to continue.
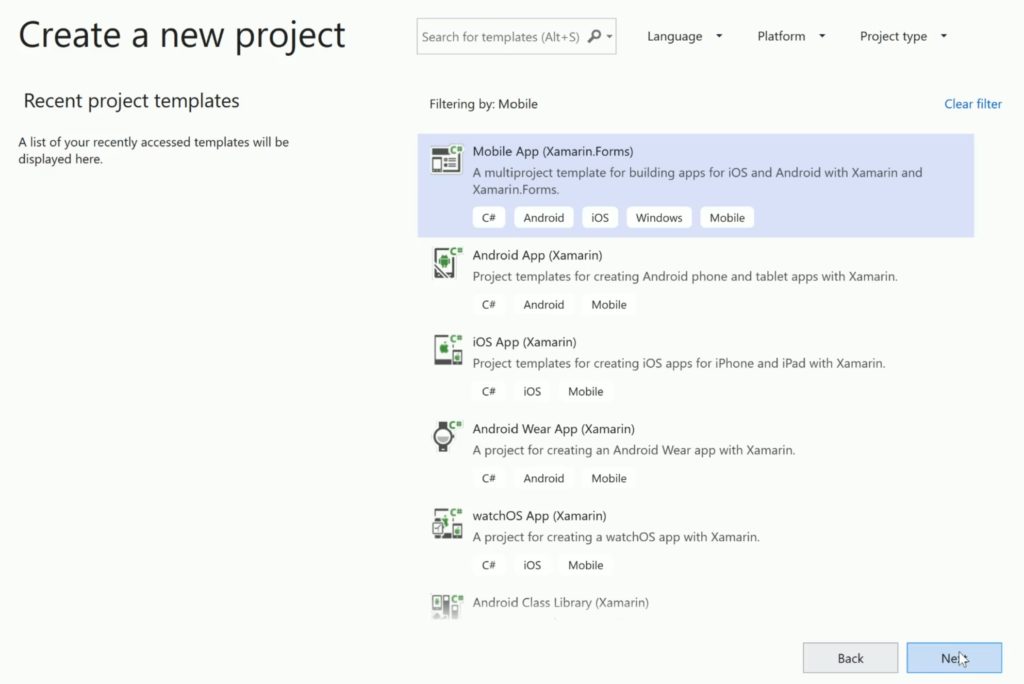
Enter the name for your app in the Project name field and click Create. The next dialog presents you with some project templates. Choose ‘Blank’ and click OK.

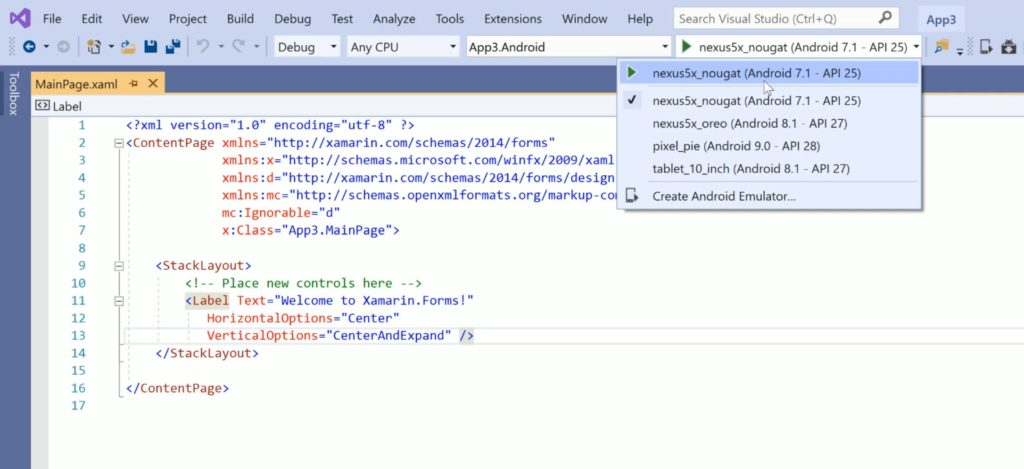
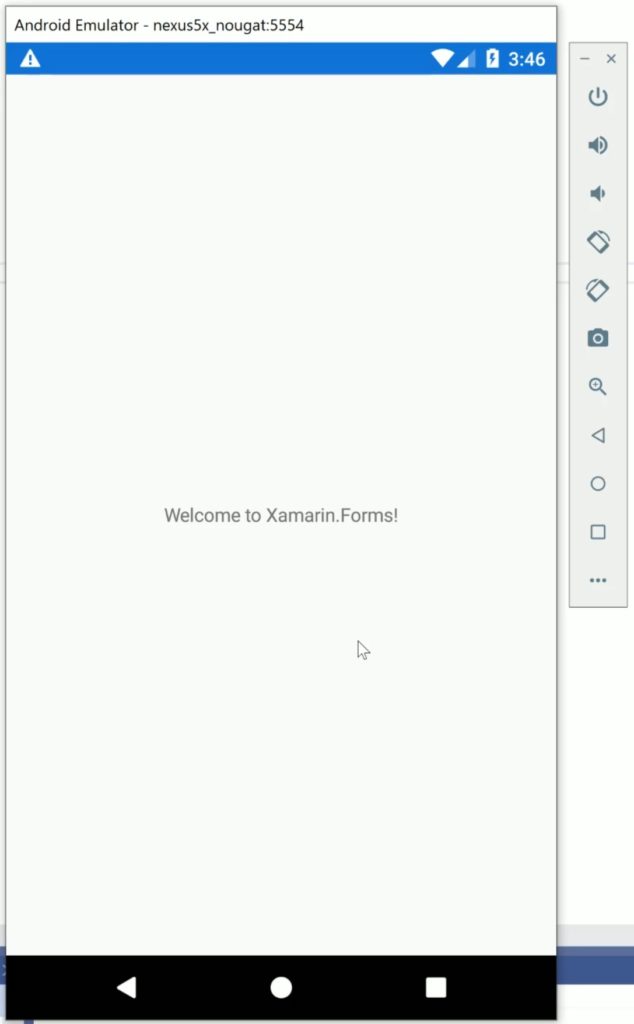
Give your project a little time to load and then you are ready to launch it in an Android Emulator (I will discuss using an iOS simulator in a future post). You can create an Android emulator if you there are none listed. Click the emulator and wait for it to deploy your app.
Congratulations! You just launch your first Xamarin Forms app.
Useful Links
- Visual Studio Download Page
- Visual Studio Support
- Xamarin Documentation
- Channel 9: C# Fundamentals for Absolute Beginners
- Channel 9: The Xamarin Show